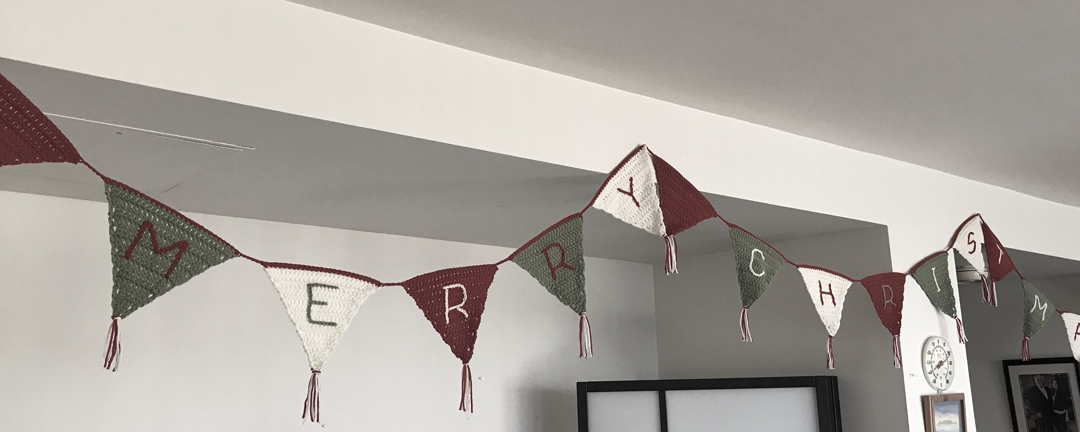
You will love to create this gorgeous Merry Christmas decoration for your home.
The Ultimate Guide to Crocheting a Temperature Blanket
Author: Alison Heathcote – Latest revision: January 2025
What is a Temperature Blanket?
Practical Significance
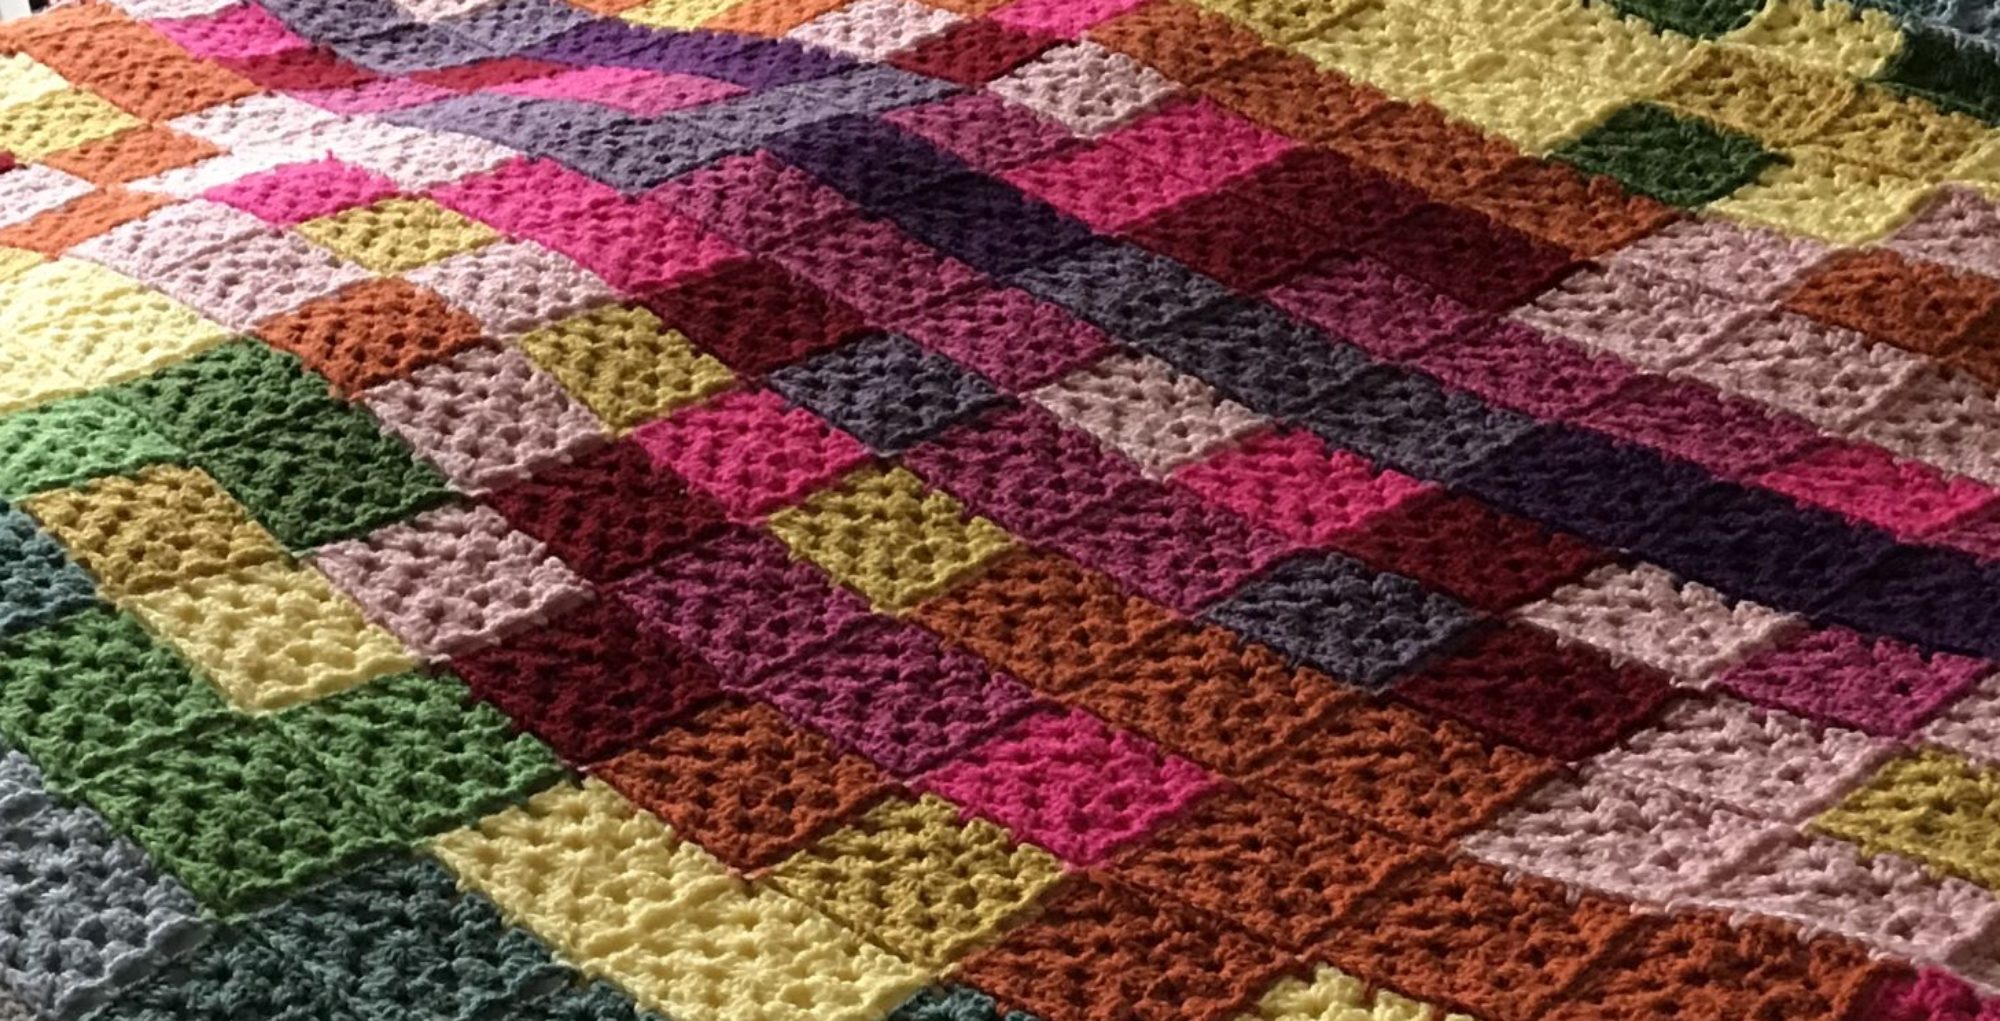
A crochet temperature blanket is a beautiful and creative way to capture the changing temperatures throughout a specific year and location. Imagine, you can craft a temperature blanket that represents the upcoming year in your very own city.
This unique and popular crafting project allows you to blend artistry with the ebb and flow of the seasons. But it doesn’t stop there; temperature blankets can hold special significance beyond just tracking the weather.
Meaningful
Creating a temperature blanket can be a deeply personal and meaningful experience. It can serve as a practical and heartwarming memento, especially when crafted to commemorate the year and location of your child’s birth.
This thoughtful gesture not only showcases your artistic skills but also honors a momentous event in your life. It becomes a warm and cozy reminder of the time when your child entered the world.
Cherish
The beauty of temperature blankets is that they can be cherished by individuals of all ages. Even as children grow up, they continue to hold a special place in their hearts for these unique blankets. Grown-up children often find comfort in the nostalgia of their birth year’s temperature blanket. It’s a tangible connection to their past, a piece of art that grows with them, just like the memories it represents.
Memories
So, as you embark on your journey to create a crochet temperature blanket, keep in mind the endless possibilities it offers. Not only can you capture the year’s temperature fluctuations, but you can infuse it with love, memories, and the vibrant colors you adore as an aspiring artist.
Let the tapestry of weather and life’s moments intertwine, resulting in a truly exceptional and heartwarming creation. Whether it’s for the upcoming year or to commemorate a special occasion, your temperature blanket will undoubtedly become a cherished piece of art that warms both your body and soul.
What are Temperatures?
High Temperatures
In crochet temperature blankets, we utilize the highest temperature recorded each day to weave a colorful narrative of the year. This unique crafting project not only captures the changing weather but also offers flexibility when it comes to temperature measurement methods. The choice of measurement depends on your location and personal preference, ensuring that the blanket aligns with your familiar temperature scale.
US Crocheters: Imperial – Fahrenheit
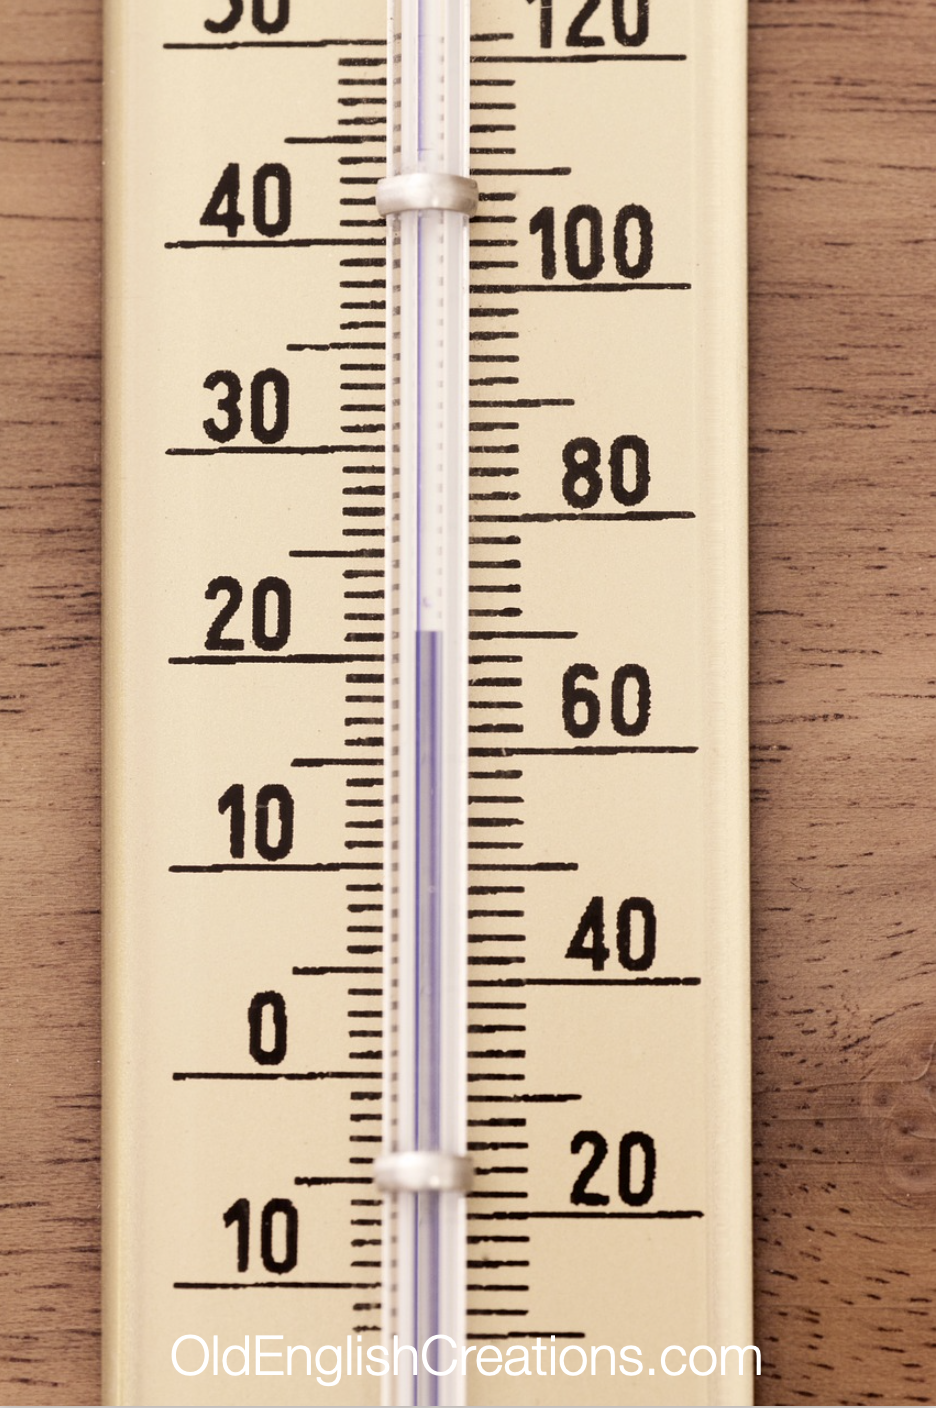
For crocheters in the United States, temperatures are commonly measured in Fahrenheit. This scale is the go-to for those accustomed to using it, and it lends itself perfectly to documenting the year’s weather highs. In Fahrenheit, freezing point is at 32 degrees, while water boils at 212 degrees at sea level.
UK Crocheters: Metric – Celsius
On the other hand, in the United Kingdom, Europe, Canada, and South Africa, Celsius is the preferred temperature scale for creating temperature blankets. This scale is easy to work with and gives you a unique perspective on temperature changes.
Here, zero Celsius signifies the freezing point of water, while 100 degrees Celsius indicates the boiling point at sea level. These technical details, though interesting, are entirely optional and can be set aside if you prefer to focus on the artistic aspect of your project.
What about Kelvin?
And then there’s the Kelvin scale, which, as you mentioned, we need not concern ourselves with for the purpose of crafting a temperature blanket. It’s typically used in scientific contexts and not necessary for our creative endeavor.
Canada – Celsius
As for me, residing in Canada, I personally favor the Celsius scale for my temperature blanket projects. It resonates with our daily experiences, where zero means water freezes and 100 represents the boiling point. While these benchmarks may be of scientific significance, they don’t need to be the primary focus when crafting your temperature blanket.
Temperature Scale
The beauty of crochet temperature blankets lies not in the technicalities of temperature measurement but in the artistic journey they offer.
You have the freedom to choose the scale that resonates with you and best reflects the temperatures in your region. Whether it’s Fahrenheit, Celsius, or even another scale specific to your locale, what truly matters is the vibrant colors and artistic expression that emerge as you crochet your way through the year.
So, select the scale you’re most comfortable with, embrace the creative process, and let your temperature blanket tell the story of the year in a way that’s uniquely your own.

Choosing a Location for Your Temperature Blanket
Where?
Creating an accurate and meaningful temperature blanket involves consistency in the location where you gather temperature data throughout the entire year. Let’s delve into this concept further to ensure you have a clear understanding of how to construct your temperature blanket.
Your Home
Consider my own situation as an example.
I reside in Vancouver, Canada, and I find the high temperatures I need for my temperature blanket by consulting a reliable weather app each day. This practice is essential because it ensures that I’m collecting temperature data from the same geographical point throughout the year. Using a consistent data source, such as a weather app, helps maintain the integrity of the project, as it eliminates variations that might occur if data were gathered from different locations.
Microclimate
This consistency in location is pivotal because temperatures can vary significantly even within the same city. Factors like microclimates, proximity to bodies of water, or urban heat islands can all influence daily temperature fluctuations.
By obtaining temperature readings from a single, reliable source within your specific location, you ensure that your temperature blanket accurately reflects the year’s climate as experienced in your immediate vicinity.
Be Consistent
So, whether you’re in Vancouver, Canada, or any other place in the world, the key is to choose one consistent location for collecting your temperature data. This location could be your home, your workplace, or any other spot that’s convenient for you. The goal is to capture the temperatures as they occur at a single point, so your temperature blanket can authentically represent the year’s weather in your area.
Weather Apps
Additionally, using a reliable weather app or a trusted source for temperature data is an efficient way to stay up-to-date with daily highs. Many weather apps provide historical data as well, which can be invaluable when you start crocheting your blanket. It’s a convenient way to ensure that you have access to accurate temperature information for the entire year.
Temperature Accuracy
To create a temperature blanket that faithfully reflects the weather of your location, maintain consistency by measuring temperatures at the same place throughout the year. In my case, living in Vancouver, Canada, I rely on a weather app for my daily high temperature data.
This practice ensures the accuracy and authenticity of my temperature blanket, and I encourage you to adopt a similar approach for your own creative project, regardless of your location. By doing so, you’ll be able to craft a unique and meaningful piece of art that tells the story of the year’s weather as it unfolded right where you are.
Where to get Temperatures for Your Temperature Blanket
How Hot is It?
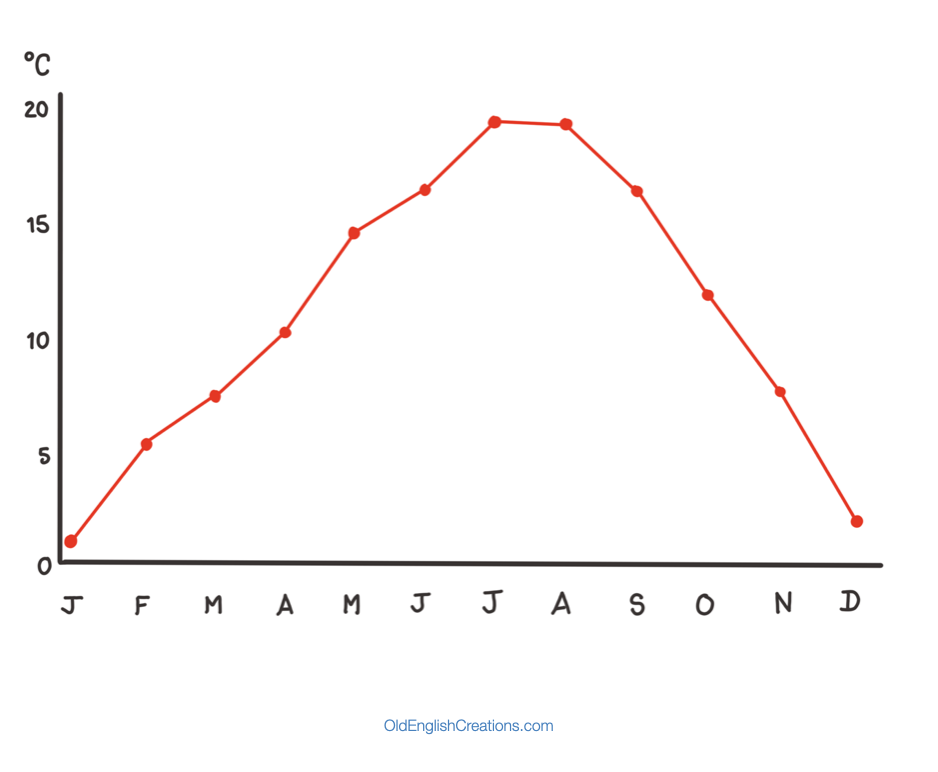
When it comes to selecting a source for your daily temperature readings for your temperature blanket, it’s important to emphasize consistency. While there may be various temperature measurements available from nearby locations, such as the airport or even in the mountains, it’s crucial to maintain uniformity in your data collection process.
Same Source
The key principle to remember is to obtain your temperatures from the same source each day. This principle ensures that your temperature blanket remains a reliable and accurate representation of the year’s climate as experienced at your chosen location.
Garden Thermometer
In some cases, individuals might have a thermometer conveniently placed in their garden. If this is the case for you, reading the temperature from your garden thermometer can be an excellent choice.
It offers the advantage of a nearby and accessible source that can serve as the foundation for your temperature data. Just remember to read it consistently each day to maintain the desired level of uniformity.
Fluctuations
While it’s important to adhere to this principle of consistency, it’s also vital to acknowledge that there’s no need to worry about the “temperature police” coming to check on your data collection process. There won’t be any official audits of your temperature readings.
The essence of creating a temperature blanket is to enjoy the creative process and capture the weather’s fluctuations in a personal and meaningful way.
Sentimental Value
Ultimately, the goal is to create a temperature blanket that holds sentimental value and accurately represents the year’s temperature trends in your specific location.
So, while adhering to the practice of consistency is advised, it’s equally important to embrace the creative journey and not become overly concerned about strict rules or regulations.
Authenticity in Temperatures
Whether you choose a nearby location, a garden thermometer, or any other source for your temperature readings, the core principle remains the same: collect your temperatures from the same place each day for the sake of consistency.
This approach ensures the authenticity of your temperature blanket, reflecting the true climate of your selected location throughout the year.
And remember, the most important aspect of this project is to enjoy the process and create a cherished piece of art that tells the story of the year’s weather in your unique and artistic way.
Shopping for Temperature Blanket Yarns
Plan Ahead
When embarking on your temperature blanket journey, it’s advisable to plan ahead and purchase all the colors you anticipate needing right from the start. Here’s a step-by-step guide to ensure you have the right materials and approach:
Plan Your Color Palette
Begin by planning the color palette for your temperature blanket. It’s essential to have a variety of colors that can represent the different temperature ranges. Keep in mind that, at the outset, you won’t know how much of each color you’ll need because you can’t predict the year’s temperatures.
Initial Yarn Purchase
To get started, purchase one ball of yarn in each color you’ve chosen. This approach allows you to begin without the pressure of predicting how the temperatures will vary. Starting with one ball of each color is a practical way to initiate your project.
Yarn Variety
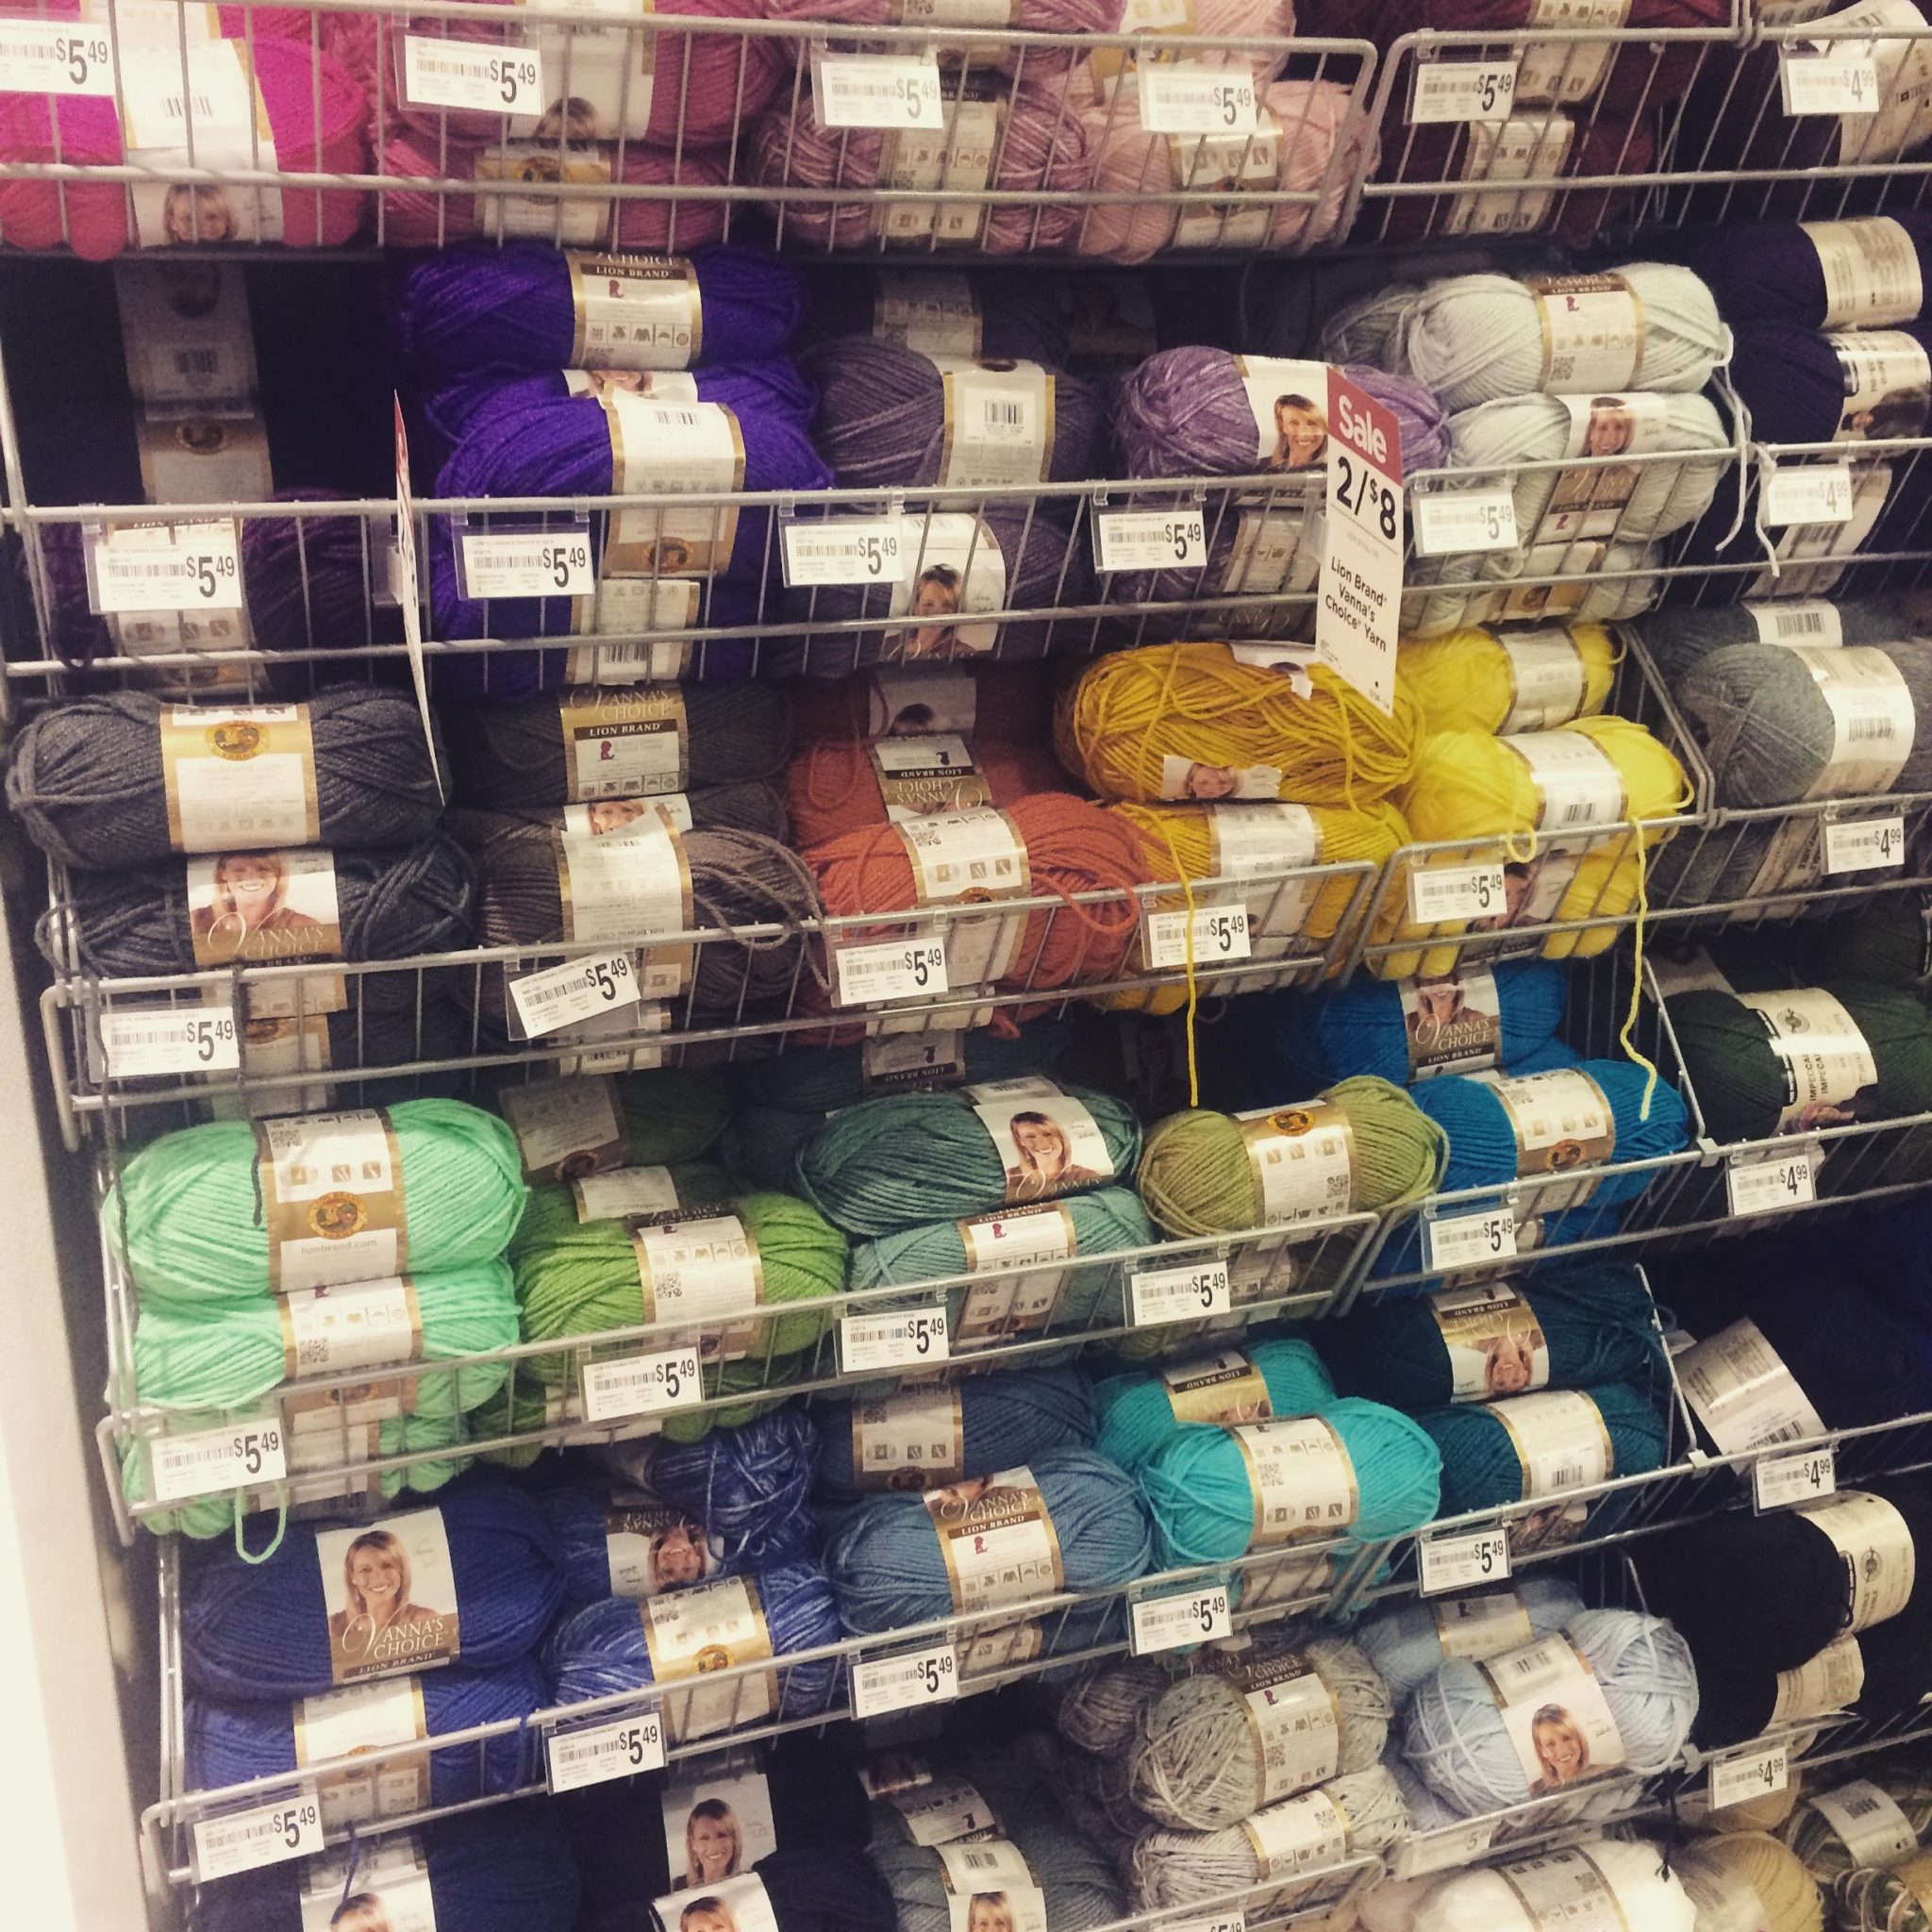
It’s a smart move to select a yarn brand that offers a wide range of colors. This way, you have the flexibility to adapt your color choices as the year progresses. One such versatile option is Lion Brand Impeccable, which boasts a rich assortment of hues to suit your creative vision.
As you consider the colors for your temperature blanket, here’s a list of colors you can find in Lion Brand Impeccable:
White
Soft Taupe
Aran
Black
Chocolate
Gold
Pumpkin
Teal
Aqua
Lavender
Grape
Amethyst
Bright Sky Blue
Kelly Green
Grass Green
Red
Cherry Red
Soft Rose
Magenta
Claret
Color Range
Having this range of colors at your disposal means you can adapt your color choices as the seasons change and temperature data accumulates.
You can adjust your palette based on the actual temperature highs, creating a vibrant and meaningful representation of the year.
Pre-purchase
When starting your temperature blanket project, be well-prepared by purchasing all your chosen colors in advance. Opt for a yarn brand like Lion Brand Impeccable with a diverse selection of colors, and begin with one ball of each color.
This flexible approach allows you to adjust your color choices as the year unfolds, ensuring that your temperature blanket is not only a work of art but a true reflection of the year’s weather patterns.
Temperature Blanket Yarn
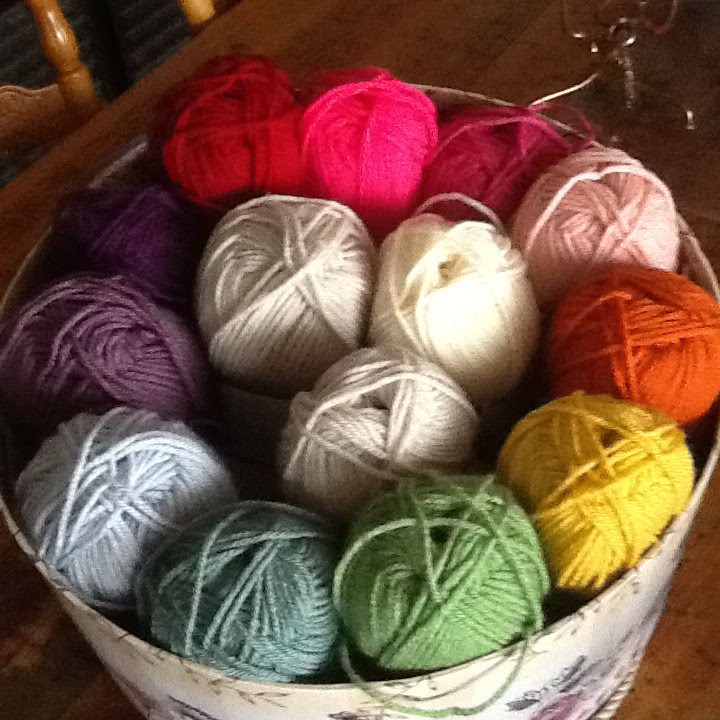
I recommend Impeccable yarn by Lion Brand. It is a [4] weight yarn and you can use a 5mm hook for your Granny squares.
Colour Palette
Celcius
My color palette for each temperature is:
- Zero and below white,
- 1C to 2C cream,
- 3C to 4C taupe,
- 5C to 6C light blue,
- 7C to 8C teal,
- 9C to 10C green,
- 11C to 12C lemon,
- 13C to 14C yellow gold,
- 15C to 16C orange,
- 17C to 18C pink,
- 19C to 20C hot pink,
- 21C to 22C red,
- 23C to 24C magenta,
- 25C to 26C violet,
- 27C to 28C purple,
- 29C and above black,
Square-a-Day Temperature Blanket
Make one granny square every day in the Color of the high temperature. If you use 4 weight yarn and a 5mm hook then the sizes of the blanket at the end will be different.
2-Round Granny
This will result in a small blanket approximately. By
3-Round Granny
This will result in a smaller medium blanket approximately. By.
4-Round Granny
This will result in a large blanket approximately
Leap Year Square Temperature Blanket
Leap Years are 2016, 2020, 2024, 2028, 2032…
Layout
Let’s delve into the specifics of creating a square layout for your temperature blanket for a leap year. Leap years, as you’ve rightly pointed out, have an extra day in February, making the month 29 days instead of the usual 28. This slight difference requires some adjustment in the square layout to accurately to depict the year’s temperature changes.
First Row of Granny Squares
In this case, the first row of your temperature blanket will consist of 18 squares. This row spans from January 1st to January 18th, covering the initial part of the year.
Each square in this row represents a day’s high temperature, allowing you to document the gradual transition from the old year to the new.
Second Row
Now, as we move into the second row, we start on January 19th, but there’s a bit of a puzzle here since February has an extra day in each leap lear.
To ensure that each row contains 18 squares, the second row will extend to February 5th, which covers the full month of January and a few days into February.
Prepare
It’s worth noting that when laying out your temperature blanket, it’s a common practice to begin each row from the right and work your way to the left.
This approach ensures that the most recent temperature data is at the forefront of your creation, and it’s easier to keep track of your progress.
Number of Squares
In total, your temperature blanket for leap years will comprise of 21 rows. These rows will allow you to showcase the temperature fluctuations experienced throughout the year, including the additional day in February due to the leap year.
Last Row
As for the last row of your temperature blanket, it will indeed be unique due to the leap year. Since the last day of February in a leap year is the 29th, you’ll need to determine the number of squares in the final row once you’ve completed the previous rows.
This will depend on factors such as the dimensions of your blanket and the size of the squares you’ve been using. You can calculate how many squares fit within the space you have available, and this will determine the number of squares in the last row.
Leap Year
Leap years present an exciting challenge for your temperature blanket.
By carefully planning and adjusting the square layout, you can accurately capture the year’s temperature changes, from January 1st to February 29th.
Embrace this unique opportunity to showcase an extra day’s worth of weather data in your artistic creation, making it a truly memorable and distinct piece.
End Gap: Year and City
The ending gap is where you write the year and city for the which the temperature blanket is created.
Temperature Blanket Border
Finishing Touches
A well-crafted temperature blanket not only showcases the beauty of the temperature data but also pays attention to the finishing details, including the border.
The border serves both functional and aesthetic purposes, and its width is crucial for achieving the right visual balance.
Balance
The general rule of thumb when adding a border to your temperature blanket is to make it the same width as each square.
This symmetry creates a harmonious and balanced look for your blanket, giving it a polished and cohesive appearance.
Two-row Granny
For those creating a two-row granny square temperature blanket, a border consisting of four rows is ideal. This border complements the dimensions of the squares, adding both structure and visual appeal to your creation. The four-row border adds a touch of elegance and frames your temperature squares neatly.
Three-row Granny
If your temperature blanket features three-row granny squares, a border with six rows is recommended. This broader border enhances the overall aesthetic and lends stability to the edges of the blanket. It’s a visually pleasing way to accentuate the unique patterns created by your three-row squares.
Four-row Granny
For those ambitious crocheters working on a four-row granny square temperature blanket, an eight-row border is the perfect choice.
This deep border complements the larger squares and ensures the overall harmony of your creation.
It adds a sense of completeness to the blanket, making it feel well-rounded and balanced.
Proportion
The correct proportioned border width is more than just a finishing touch. It brings visual balance to your temperature blanket, enhancing the appearance of the squares and creating a unified and visually appealing composition. When properly proportioned, the border not only frames the temperature squares but also complements the overall design, turning your blanket into a work of art.
Visual Harmony
When adding a border to your temperature blanket, consider the width carefully.
Making the border the same width as each square ensures visual harmony and balance.
Depending on the number of rows in your granny squares, choose an appropriate border depth: four rows for two-row granny squares, six rows for three-row granny squares, and eight rows for four-row granny squares.
This attention to detail will not only showcase your artistic skills but also result in a temperature blanket that’s a true masterpiece, both in terms of data representation and aesthetic appeal.
Plan your Temperature Blanket Success
Success
Achieving success with your temperature blanket project hinges on more than just the final product; it’s about enjoying the creative journey and ensuring you complete what you’ve started.
Proper planning is the key to enhancing your chances of success, so let’s delve into this notion further.
The Joy of Crafting
Success in your temperature blanket endeavor isn’t solely about the end result; it’s also about the enjoyment you derive from the process. Crocheting a temperature blanket can be a fulfilling and meditative artistic endeavor. Each square you create becomes a brushstroke on the canvas of your year, and taking pleasure in the craft is an essential part of your success.
Setting the Stage with Proper Planning
Effective planning is the foundation of any successful project. In the case of your temperature blanket, it’s about organizing your materials, selecting the color palette, and establishing a clear framework. This initial planning phase sets you up for a smoother and more rewarding journey.
Consistency is Key
One of the ways to ensure success is by maintaining consistency in your crocheting routine. Dedicate a specific time each day or week to work on your temperature blanket. Consistency helps you make steady progress and keeps the project from feeling overwhelming.
Adaptability and Flexibility
While planning is crucial, remember that unexpected changes in weather are inevitable. Be prepared to adapt your color choices or design to accommodate unanticipated temperature variations. This flexibility is a sign of a successful approach, as it allows your blanket to truly reflect the year’s climate.
Visualizing the End
Picture the completed temperature blanket in your mind. Imagine how it will look with all the squares aligned in their vibrant colors. This visualization can be a powerful motivator to keep you on track and ultimately reach your goal.
Rewarding Milestones
As you progress with your temperature blanket, celebrate small milestones along the way. Completing each row or finishing a month’s worth of squares can be rewarding achievements that keep you motivated and reinforce your sense of accomplishment.
Community and Support
Consider sharing your project with others, whether through social media or local crafting groups. The support and encouragement of like-minded individuals can be a significant factor in ensuring you stay committed and finish your temperature blanket successfully.
Visualize Completion
Success in your temperature blanket project involves both the destination and the journey. Proper planning, consistency, adaptability, and the ability to find joy in the creative process are essential elements.
By envisioning the final result, celebrating milestones, and seeking support from a crafting community, you can increase your likelihood of not only reaching your goal but also relishing every moment of making your temperature blanket.

Author Bio
Alison Heathcote is a passionate crochet enthusiast and dedicated business blogger. She combines her love for crafting and entrepreneurship to inspire and connect with others.
With a knack for transforming yarn into beautiful creations and a flair for sharing valuable insights about running a successful crochet business, Alison embodies the perfect blend of creativity and practicality.
Read more about Alison’s crochet journey.
More Articles
If you enjoyed this post and crochet is your thing, you may like some other crochet articles from our blog.
Triangle Shawl Crochet Design
Shawl and Wrap Shapes Wraps are rectangles and shawls are triangles. This is the general consensus. You can get semi-circle wraps as well. But in this post I'm discussing the structure of crocheted triangles. Triangles A triangle has three sides and three...

Newsletter
"The Calm Crochet" Newsletter Welcome to the Calm Crocheter Discover the art of crochet as self-care. At Old English Creations, we believe that crochet is more than a craft—it's a soothing ritual that nurtures your mind and spirit. Our Calm Crocheter newsletter is...
